Back in March of 2012, I discussed brewstands and recirculation mash system as 'wants' in
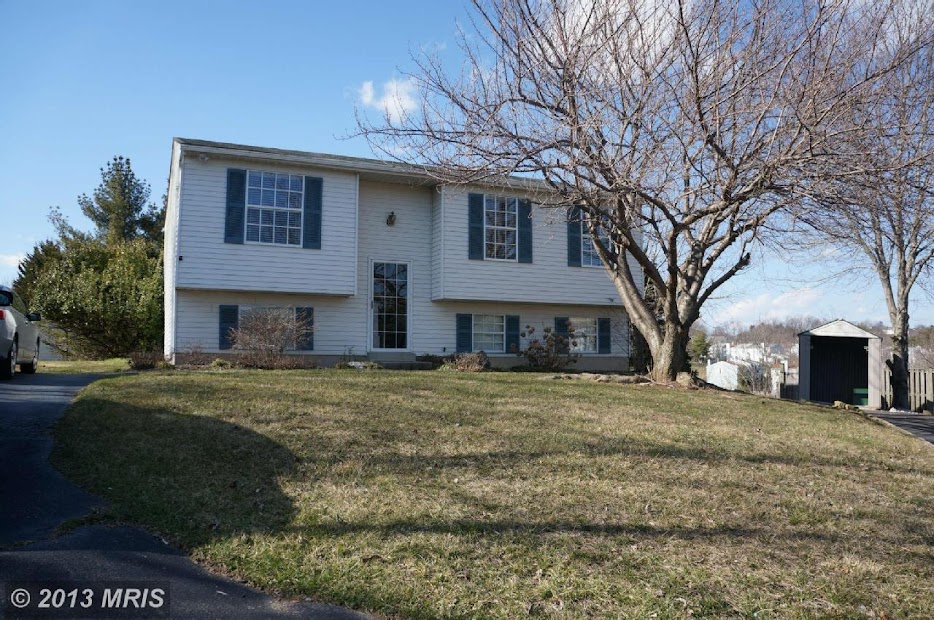
part 3 of my all grain series. They are still on my wants list, but with the new house I have decided I need to enact a plan to get indoors for brewing, with electricity. Too many days where my hands are freezing from cleaning my mash tun out in the cold. Additionally, we do not have a garage so I would be out in the full elements for brewing. Below I will go over the pro's and con's of having a dedicated indoor brew setup and then layout my 3 phase plan to get indoors and use induction!
 |
| (New house - want to brew INside it, not OUTside it) |
PRO's of Dedicated Indoor Brewing
- Weather - Indoors you can be the postman of brewing - rain, sleet, snow, extreme heat, extreme cold - it doesn't matter. This is the best reason for indoor brewing and could possibly outweigh any of the cons in and of itself.
- Dedicated Brew Area - this isn't necessarily only specific to indoor brewing, as having a brewstand on casters would classify. But having a dedicated space for brewing, you can organize and optimize for an efficient and quicker brew day.
- Operating Cost - Brewing with electricity is far cheaper and more efficient than propane. Also, as long as you pay your electric bill you will not run out of fuel - unless there is a power outage.
- Proximity - Depending on where you setup your indoor brewing you should be close to hot water, and a sink/cleaning area, maybe even a T.V. or bathroom!
CON's of Dedicated Indoor Brewing
- Initial Setup Cost - To do 5 gallons or more you will need access to 240v electricity with GFI, Ventilation etc. Also if you want more advanced mash system you will need to spend quite a bit in the electronics department for a control panel. This is probably the biggest hindrance to going indoor. People can spend thousands of dollars getting a dedicated brew room - check out theelectricbrewery.com to see what i mean.
- Ventilation - Boiling off 1+ gallons of liquid will create quite a humid environment. You will need to have some sort of ventiliation to keep the area in and around your brewery dry and free of mold. Additionally, some family members may not appreciate what I think are wonderful smells of wort and hops.
- Mobility/Portability - You are kinda stuck to a location with the appropriate power you need. It will be hard to take your system to club brewing event which is outdoors.
- Electric knowledge - If you don't already know, you will need to learn a little bit about wiring electricity and electronics OR pay big dollars to buy a prefabbed setup (see con # 1)
Shegogue Brew's Indoor Electric Plan
- Frugal - Anyone who knows me knows I love a good deal. I will DIY whenever I can to save some $$$.
- 1) Electricity First - The first part of the equation is getting adequate power supplied to the unfinished side of the basement. This needs to happen anyways to be able to run my keg fridge and ferm chamber - there currently are no power outlets on this side of the basement. While at it, I will have the electrician wire up power for the brewspace
- 2) Simple Setup - Once electricity is in place I will be going with a 20a/240v 3500watt induciton cooker. This removes the need of a control panel, PID's etc. I will brew in the same manner I currently do outside just with induction rather than propane burner.
- Vent Hood - I will construct some sort of a vent hood and wire up a 6" inline fan to run the exhaust outside - all DIY, all savings
- Brewstand - will construct a simple 2-tier brewstand to utilize gravity (as I currently do)
- Gravity fed MLT

- 3) Automated Mash Temp Control
- Add a 15a/120v RIMS or "teakettle" type HERMS system.
- This will require fancy pumps, and a control panel
- A lot of extra hardware for installing valves into kettles
Step one should be completed sooner than later. Hoping to be able to jump into step 2 after the Xmas season (hint to santa). And Step 3 will be a year or two out, maybe longer - really need to rebuild our deck. As long as I am inside, I think I will be a real happy brewer :)

