I can't take full credit for the interest in making pizza because that goes to my friend Josh. He got into it before I did, and he is much better and more precise. I also learned a little from the internet and got my recipe using this calculator, which I highly recommend.
Shegogue Brews Recipe - Makes two, 11"-12" pizzas
Pizza Dough Ingredients
2 1/2 cups - 2 3/4 cups Flour (See I told you Josh was more precise, he weighs out all the ingredients)
8 oz warm water
3/4 tsp salt
1 1/2 tsp sugar
1/4 tsp IDY (Instant Dry Yeast)
*Oil - I use around 2 to 3 "cap-fulls" of oil. I realize this is pretty vague but see instructions below. The more oil used, the more "chewy" the crust will be.
Hand Kneading Pizza Dough Instructions
In a measuring cup, collect your warm water and add IDY to rehydrate. In a mixing bowl, combine your salt, sugar and flour. Use a table knife or spoon to create a depression in the center of the dry ingredients. Add water and yeast into the dry ingredient depression. Mix liquid into the dry ingredients in a circular motion slowly pulling in more and dry ingredients into the wet mixture. Once mixed (may have some flour which didn't mix in, which is ok) pull the dough out of the bowl and onto your countertop. Pour some oil onto the counter top and start to knead dough over and into the oil. Oil will help the dough if it is sticky (you used too much water or not enough flour) or dry (too much flour or not enough water). Continue to knead until dough is a smooth texture and springs back when you stick your finger into it. Cut dough in half and form into balls (the more round you can make the balls, the easier it will be to form a perfect circle later on). Place balls into two lightly greased bowls and cover. Allow to sit for a few hours**
**At this point you can refrigerate for 24-48 hours, or freeze the balls. You just need to allow 2-4 hours of the dough at room temperature so it can rise prior to forming your pizzas.
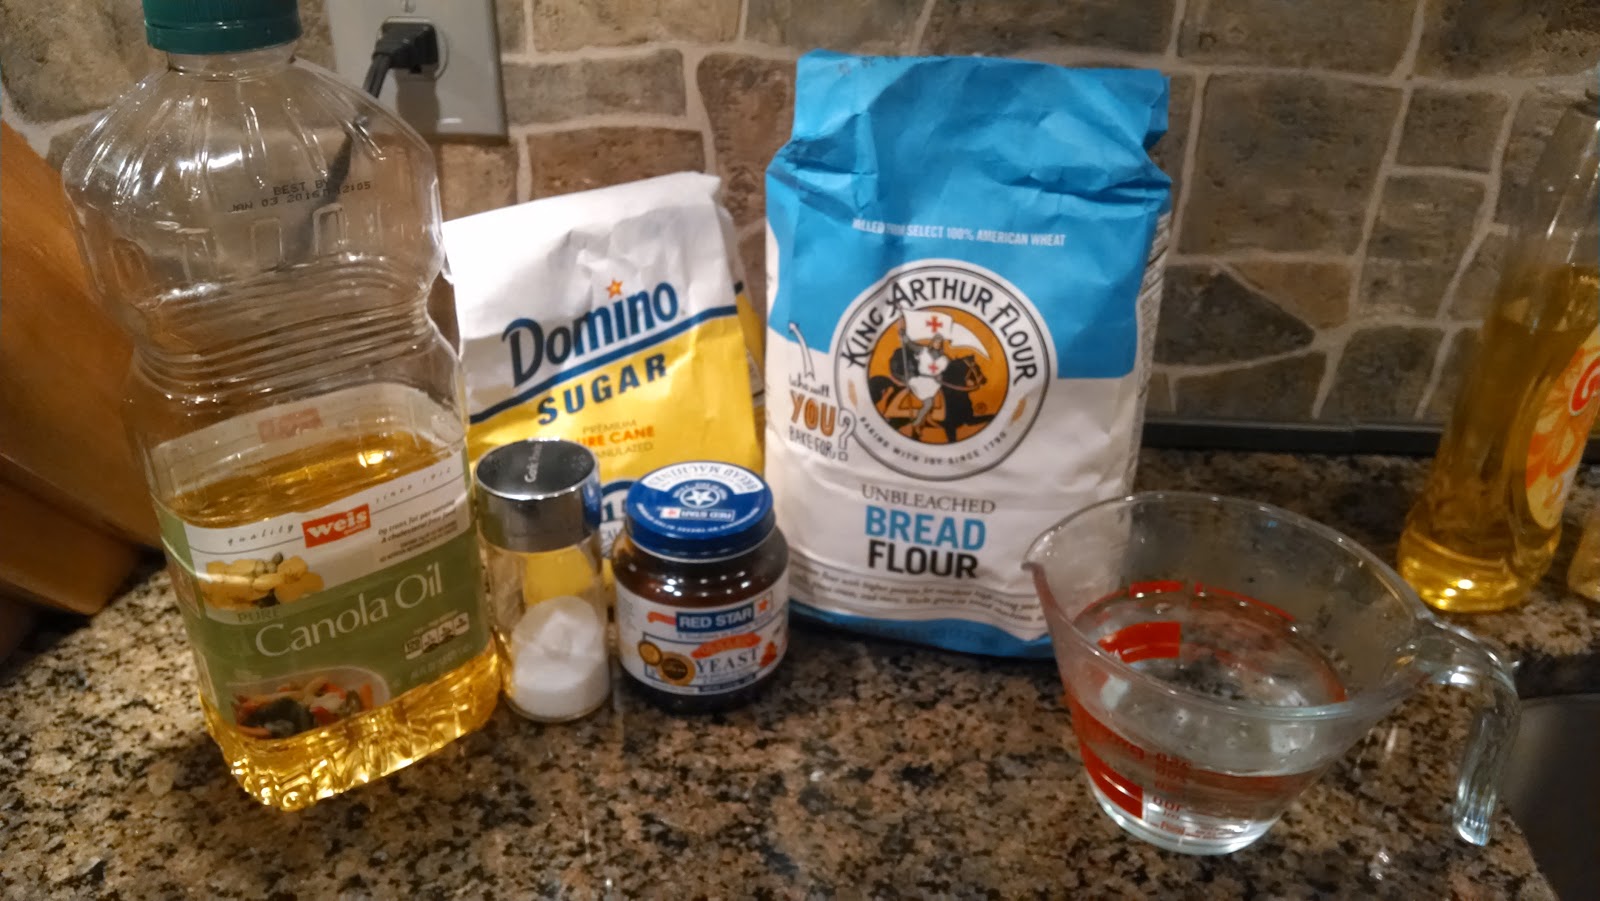 |
| (Ingredients to make dough) |
 |
| (Water Temp to Rehydrate Yeast) |
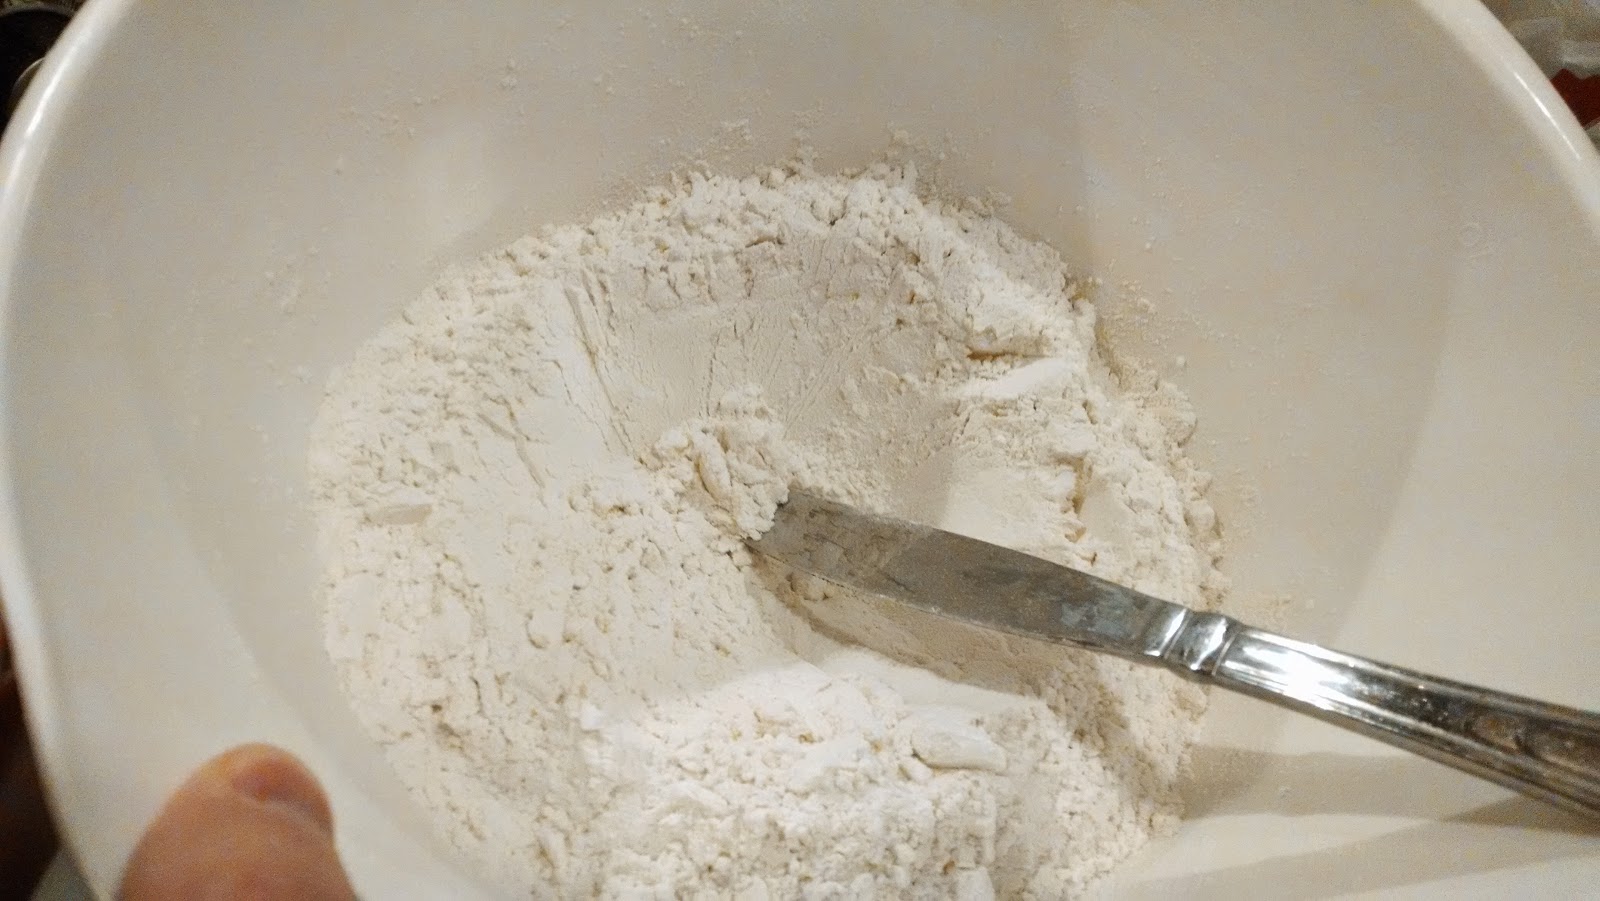 |
| (Dry ingredients) |
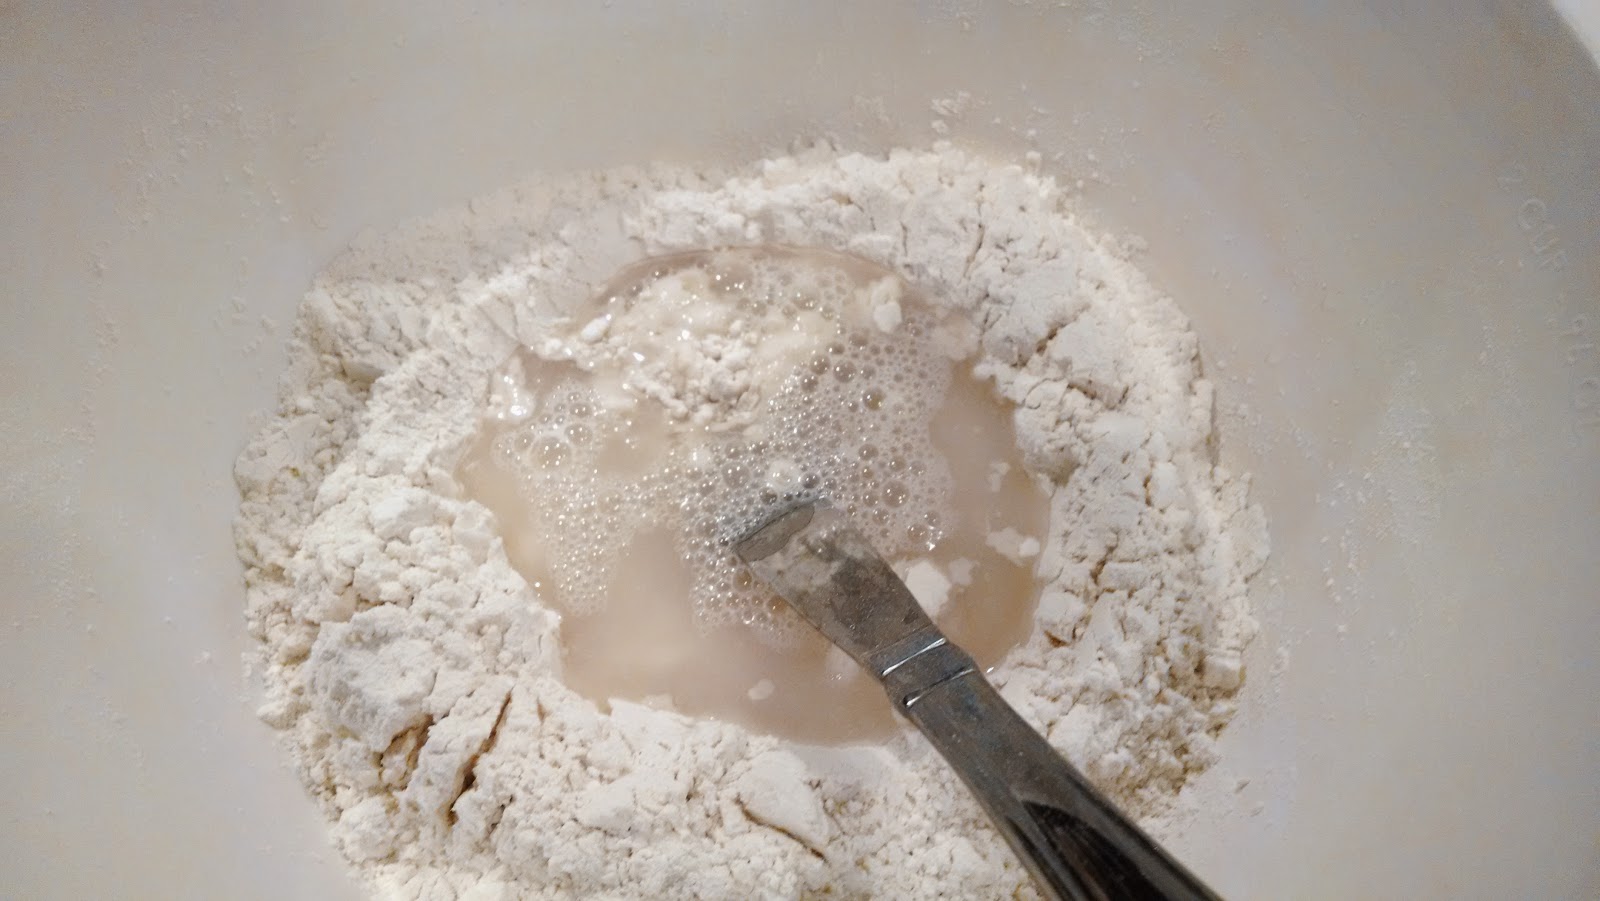 |
| (Adding water and yeast to dry ingredient depression) |
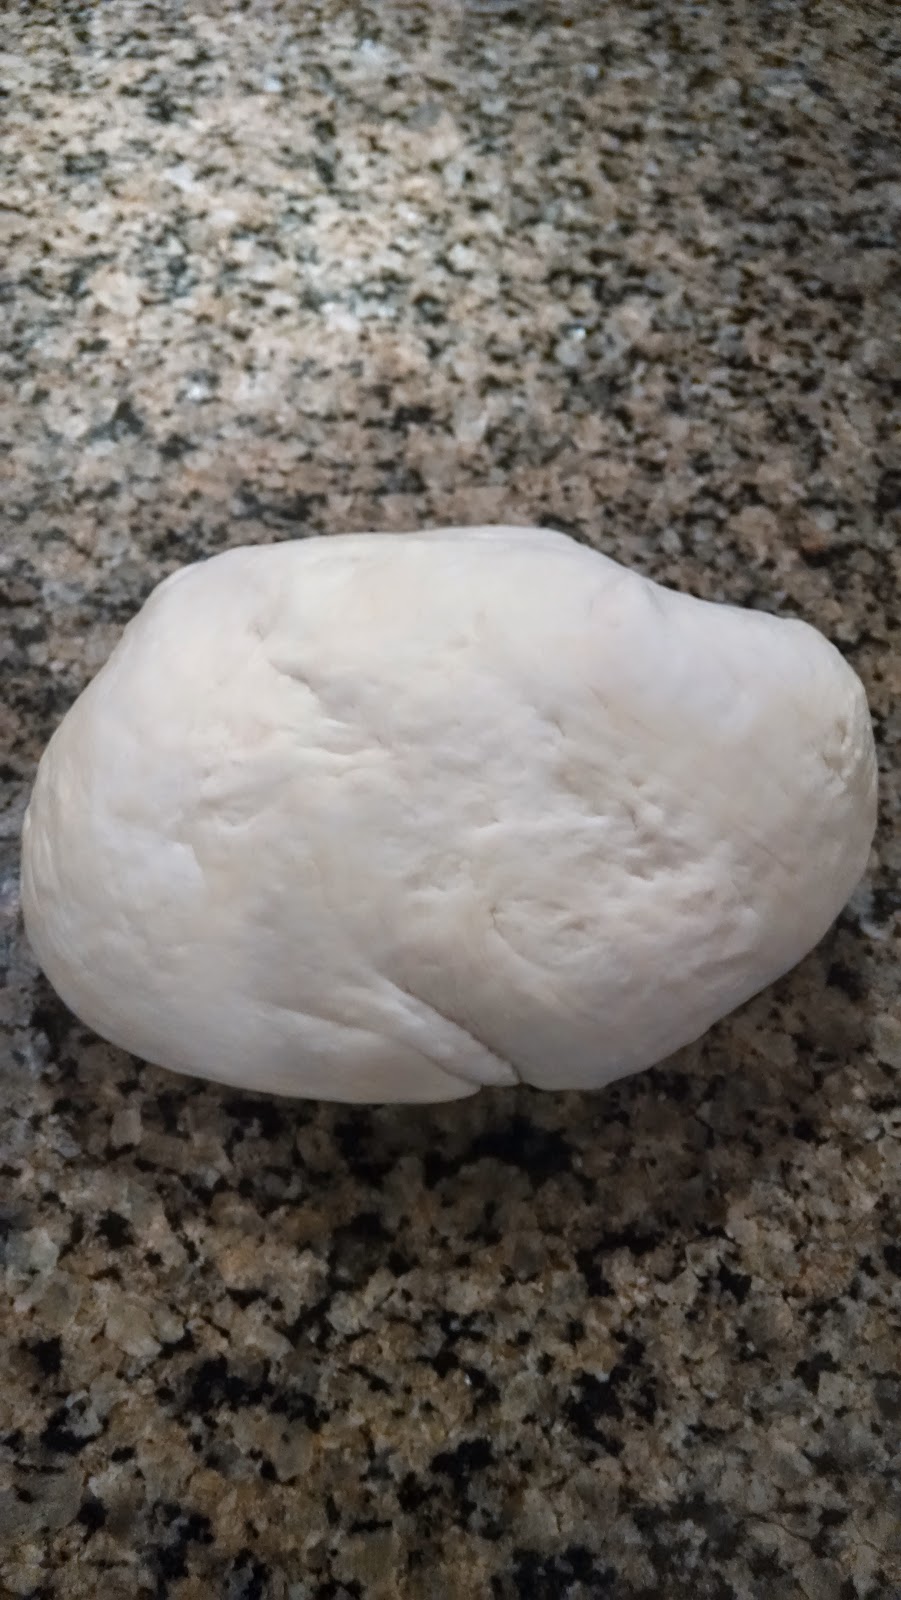 |
| (Dough is not smooth enough yet, needs more kneading) |
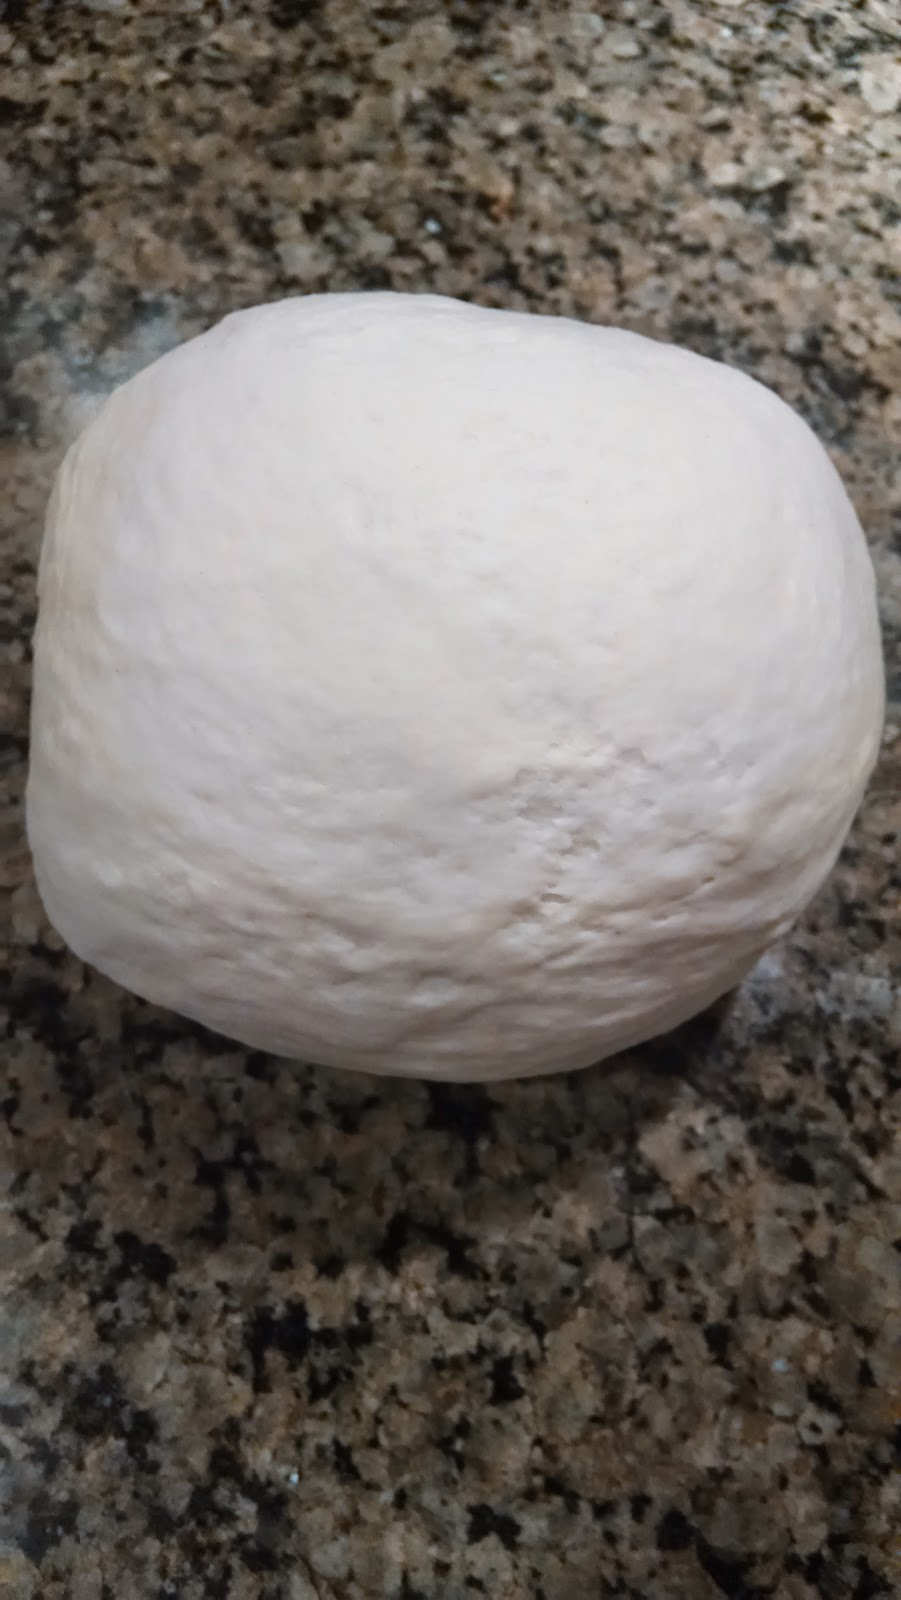 |
| (Dough ready) |
 |
| (Split dough in half) |
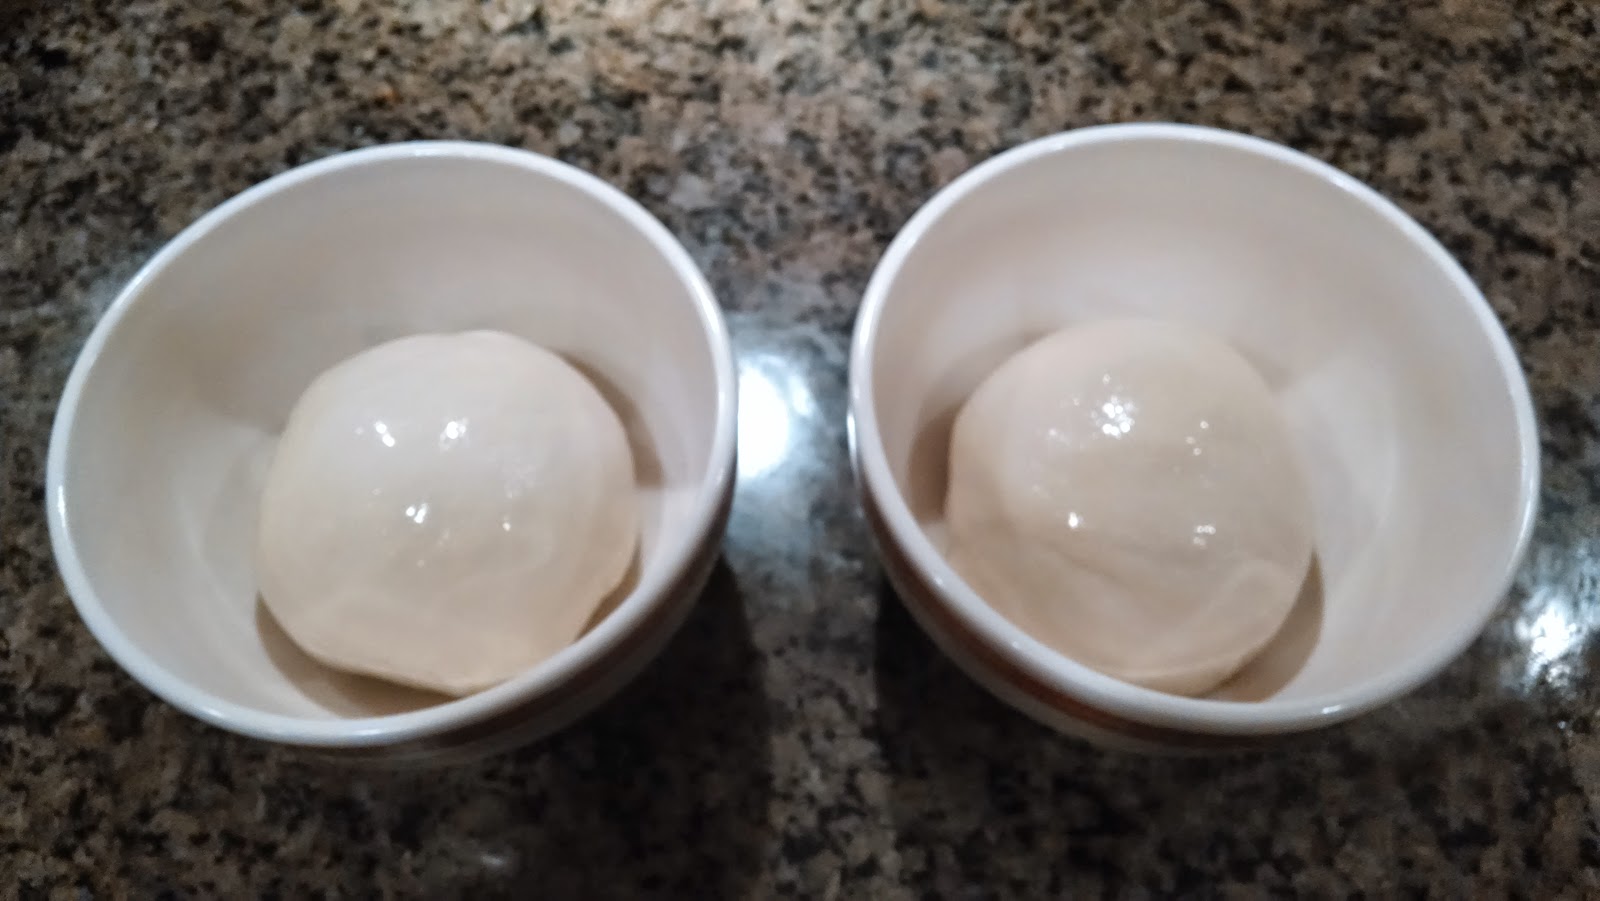 |
| (Dough balls formed and greased in bowl) |
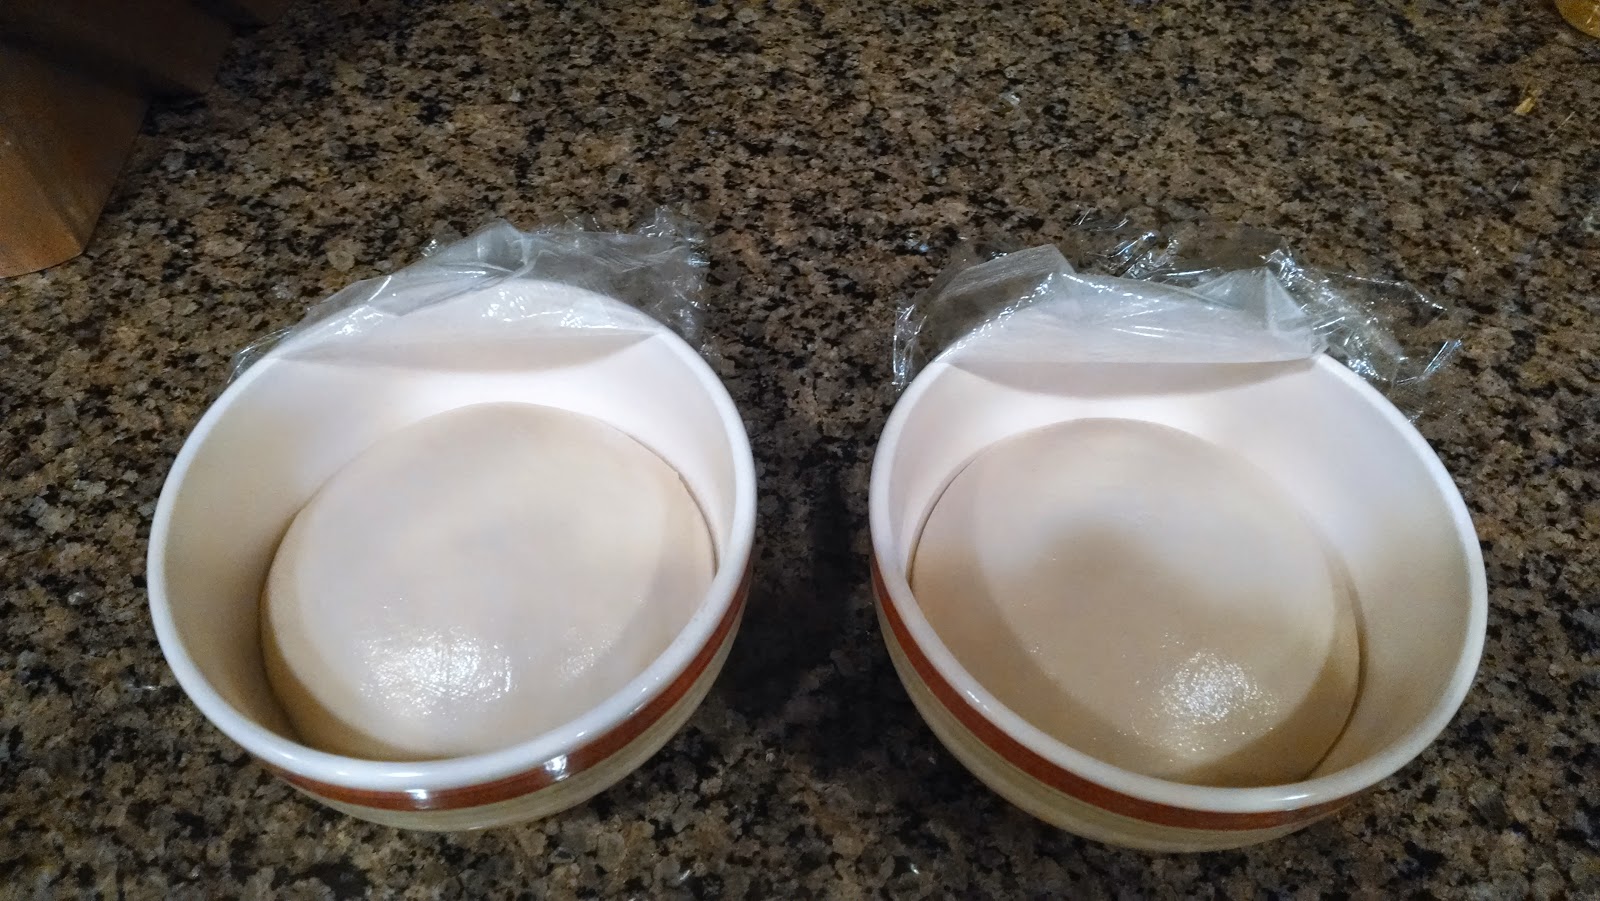 |
| (Dough After rising) |
(Video of me forming dough from over a year ago. This video was not filmed with the rest of these pictures, but you get the idea)
I am going to leave the rest of the ingredients up to you. We use hunts tomato sauce (does not contain garlic) and add a little oregano and sugar to taste. Josh takes cento brand whole peeled tomatoes and throws them into the food processor for a more natural tomato sauce. After forming your dough and placing it on a well floured pizza peel, spray it with cooking oil spray (PAM). This is important so the sauce doesn't soak into the dough and the crust forms a nice golden brown color (I forgot to thoroughly coat the dough on the pizza with olives, pepperoni and jalapenos with oil and the crust didn't brown up - see below). Spread the sauce from the middle to the outer edges in a circular motion with a spoon. Add cheese and toppings. If the pie won't easily slide on the peel, lift up the edges and blow underneath. I do this all the way around until I can shake it back-and-forth easily. I then open the oven and slide it onto the hot pizza stone.
You want your stone to be AS HOT AS POSSIBLE. My oven goes up to 550°. I allow it to heat up to that temp and then hold there for 15 minutes or so before placing my first pie on it. Baking should only take a few minutes.
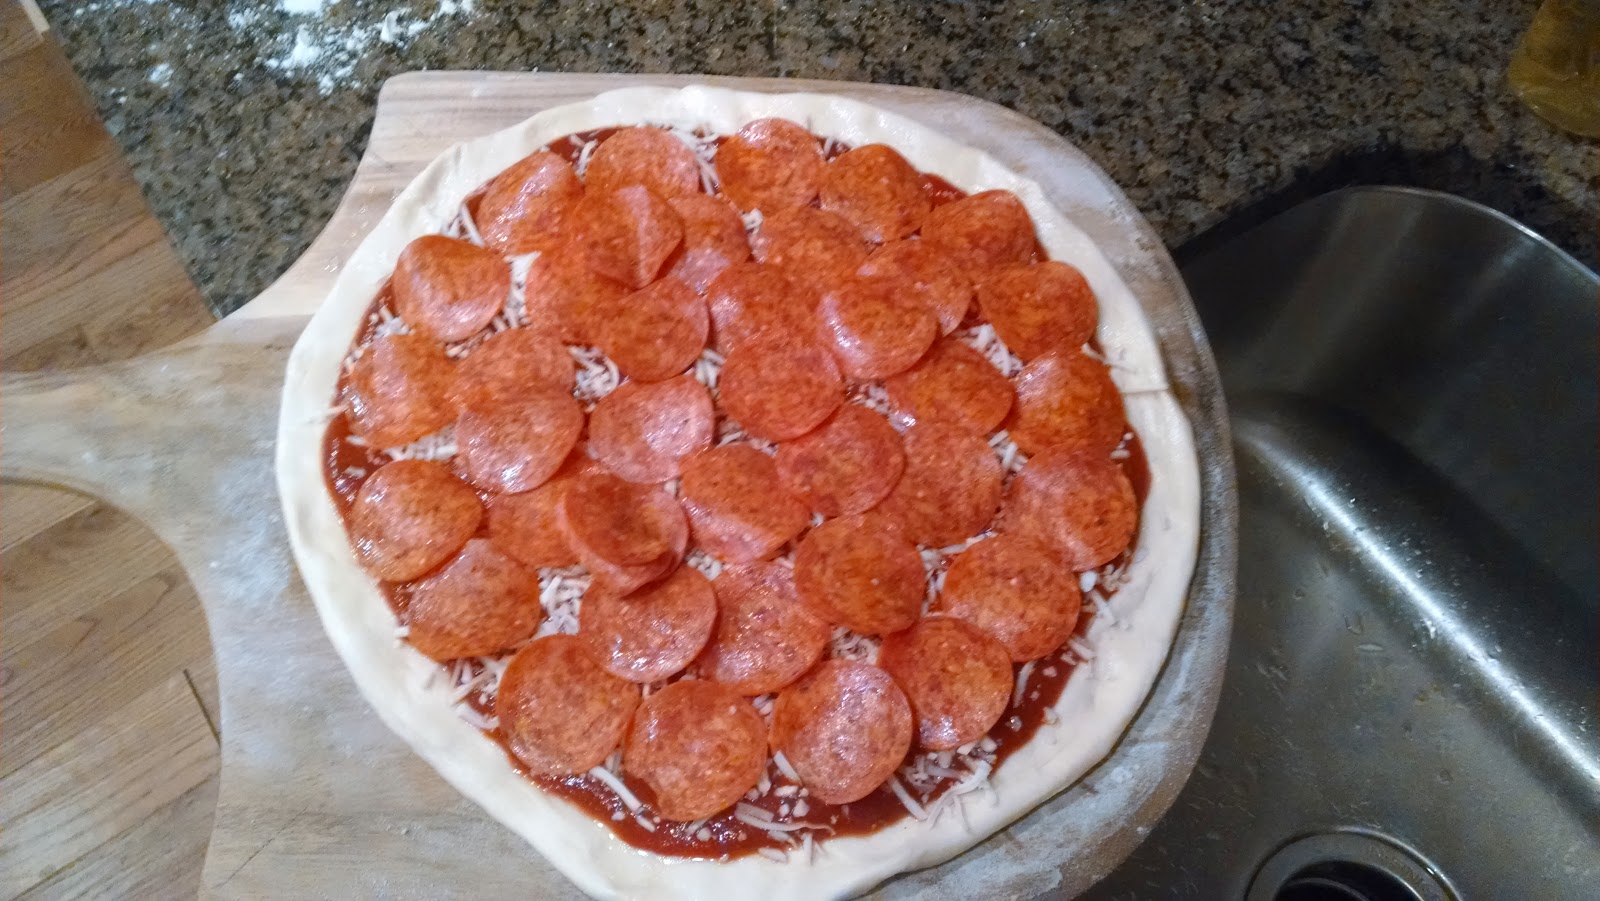 |
| (Pepperoni Pizza before being placed on hot stone in oven) |
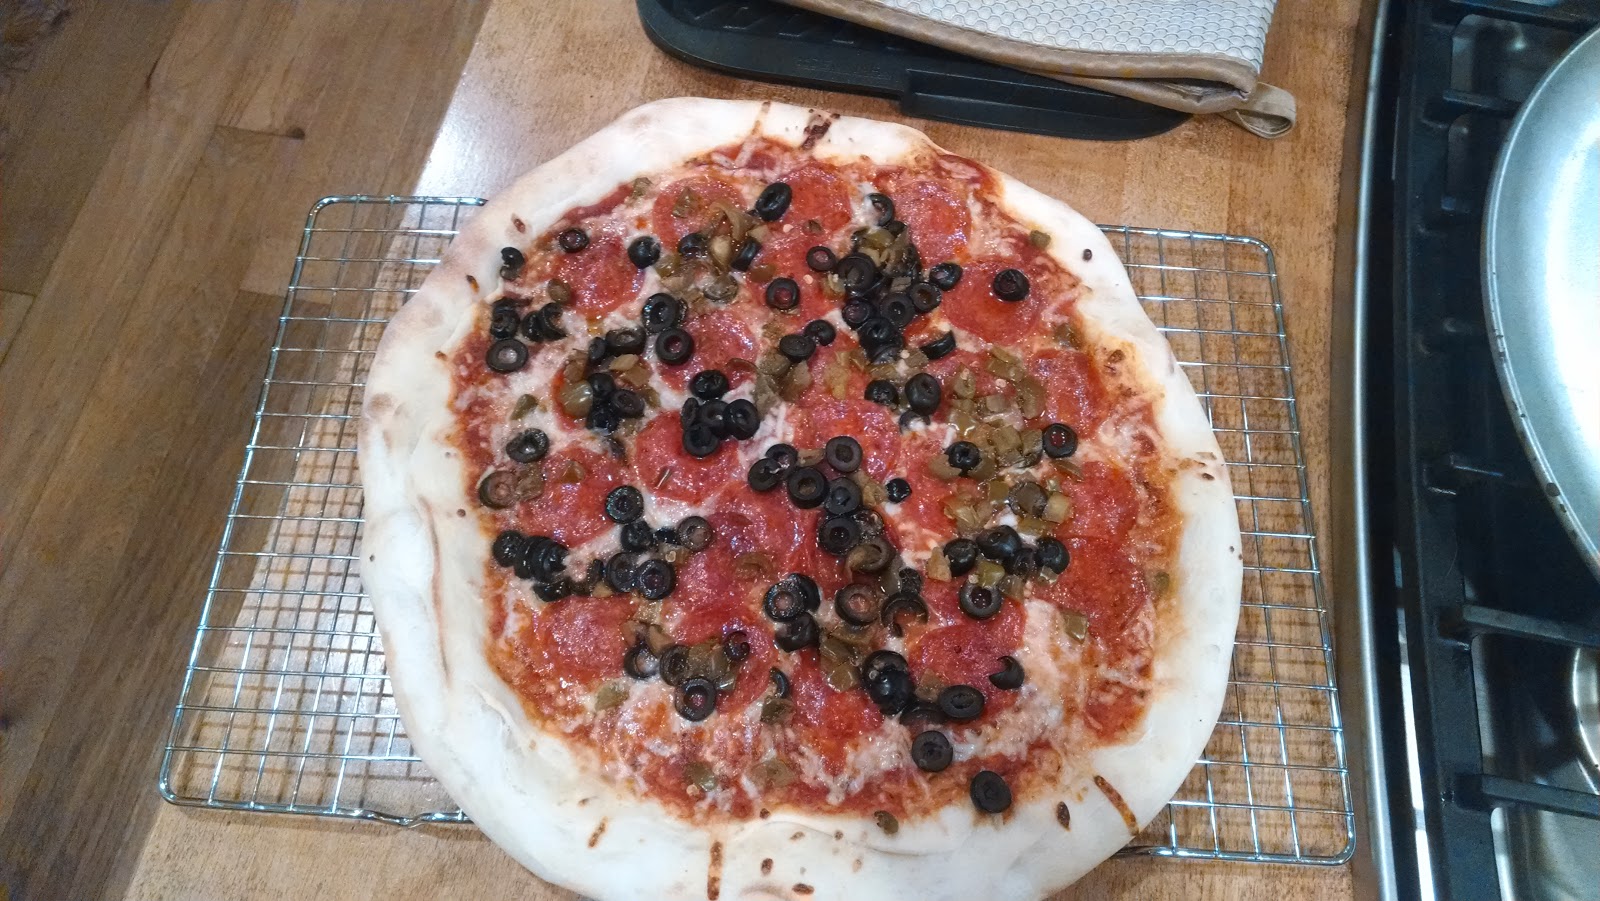 |
| (Pepperoni, Olive and Jalapeno Pizza - forgot to oil the crust!) |
 |
| (Pizza cooling on a cookie rack to prevent moisture and steam from soaking back into the crust and making it soggy) |
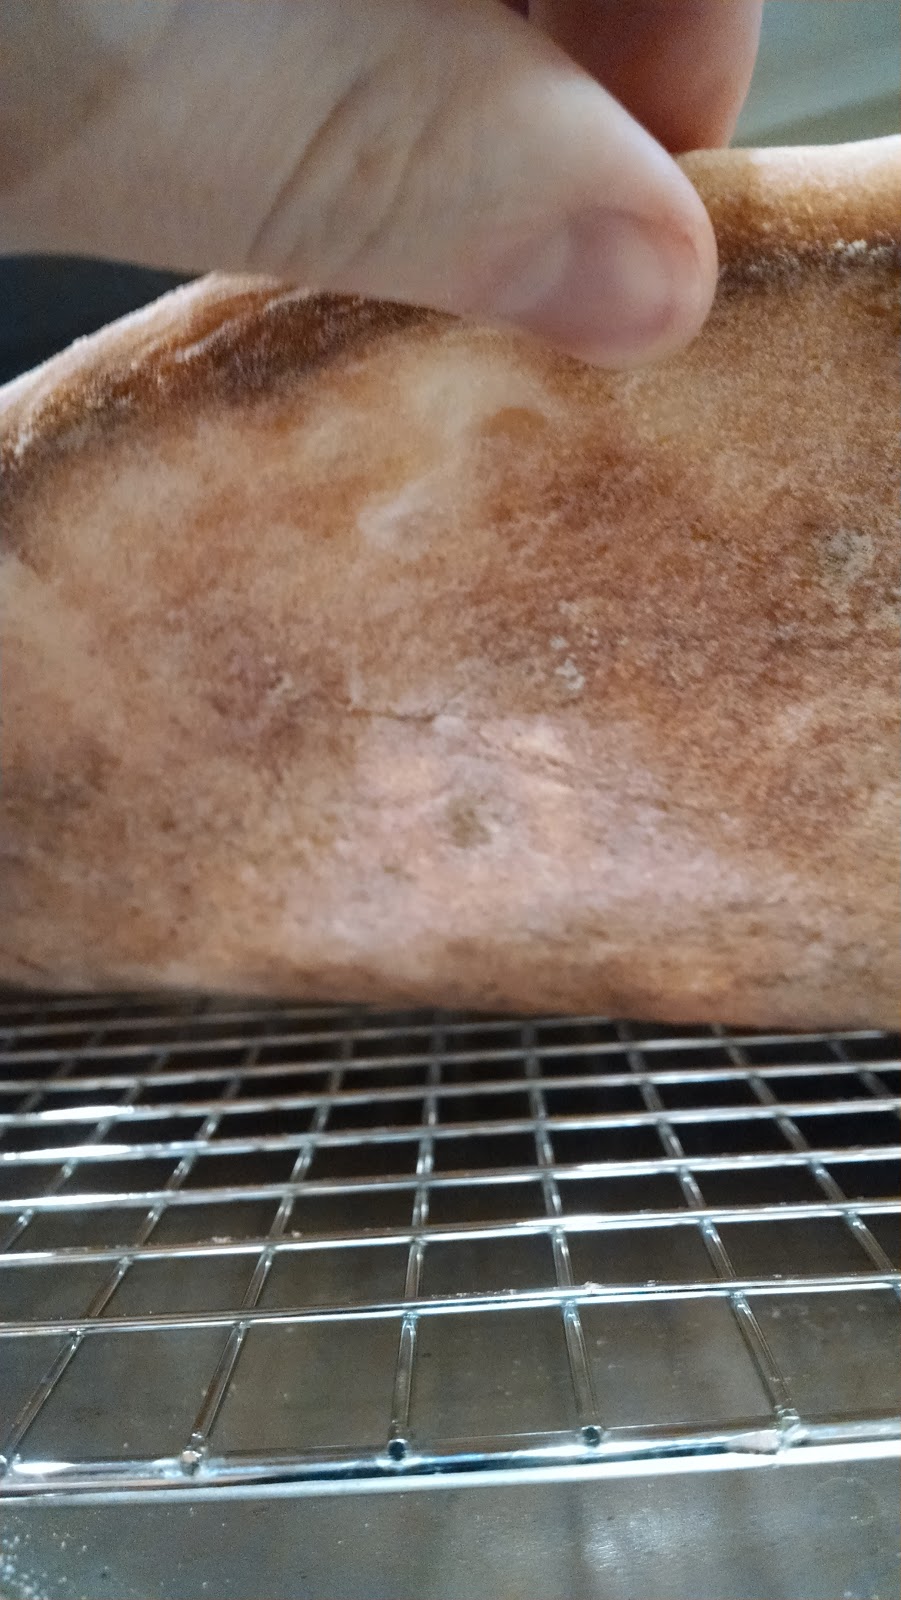 |
| (Pizza Crust) |
Do you ever make your own pizza? Let me know your tips and tricks in the comments below!
***After some thought and discussion with Josh, I will be making another post at a later date to discuss many more ingredient variables, intricacies, and discussion points.
More power to you for kneading the dough by hand! I use my kitchen aid mixer to do all the work!
ReplyDeleteThanks! However, I will state that it is not by choice since we don't own a stand mixer. I know people who have used a food processor, but that can kill the food processor motor fairly quickly.
DeleteGreat. I am hungry now!
ReplyDeleteYa, that is an unfortunate side effect. This thread has even more pretty pizza pics: http://www.homebrewtalk.com/f56/home-made-pizza-thread-405838/
DeleteIn Jamaica itself, the jerk style of cooking is traditionally used for preparing goat or pork, however it can also be used for other meats such as chicken, for fish, or even tofu. In other countries, probably the most popular jerk dish is jerk chicken. jamaica drink benefits
ReplyDelete