As part of the brewery build you can check out the other projects:
Utility Sink and Plumbing
My existing plumbing in my basement only had a laundry standpipe and hot/cold water feeds. The laundry standpipe also wasn't up to code as the standpipe was 2" but the p-trap and other piping was 1 1/2". I redid the standpipe and added a new vent connection to meet code - and more importantly not have the laundry siphon out of my the p-trap on the sinkFirst, I turned off the water. Public Service Announcement - make sure to exercise (turn off and on) your gate stop valves on your water lines a few times a year. A few were REALLY hard to loosen. I then started to cut into the top pipe and my pipe cutter was walking all around on me and almost "threading" the pipe. Not sure if it was just a dull cutting blade or if its done. Regardless, trip 1 to the hardware store was made to get a new pipe cutter. I then got back and cut the pipe, cleaned and soldered in my fittings. I used tin foil held up by a metal thumb tack to prevent from burning my walls and/or house down - worked really well. I could have had some really nice solder joints, but I was scared the little bit of solder didn't make a good seal so I melted on more than I should have (probably totally unnecessary).
 |
| (Soldered a "T" in the cold and a "T" and 90 in the hot water line) |
 |
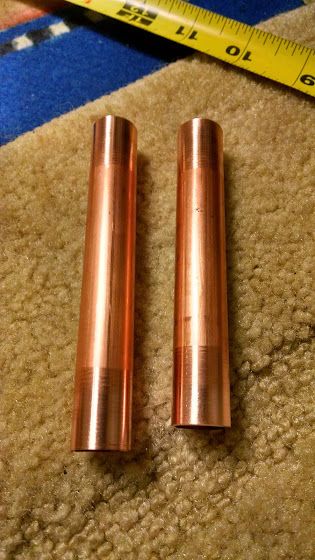
| (Cleaned Copper Pipe - Shiny) |
Then I added two 45 degree fittings in alternating directions to extend me away from the wall and over the basements cement foundation.
At this point I added on the compression shutoff fittings.
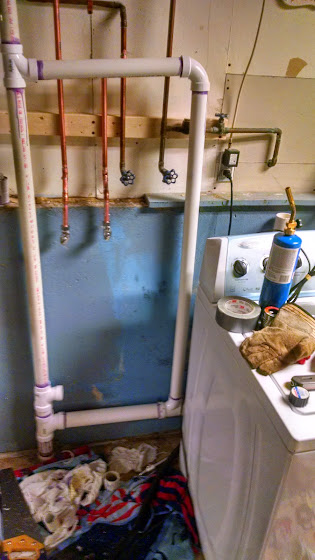
I then began the vent and drain/waste piping. I started with a normal hand saw, moved to a hack saw and then remembered I had a little multi-tool. That thing is a life saver! Towards the end I was getting pretty good at making even cuts. You can barely see the laundry standpipe behind the laundry machine, but its there. I actually had to make trip number 2 to the hardware store (right before Home Depot closed on a Sunday night) to get a slip joint and more 2" pipe for an extender for the standpipe since I had only purchased 2' sections #smallCarProblems.
 |
| (2" Laundry standpipe and 1 1/2" venting installed) |
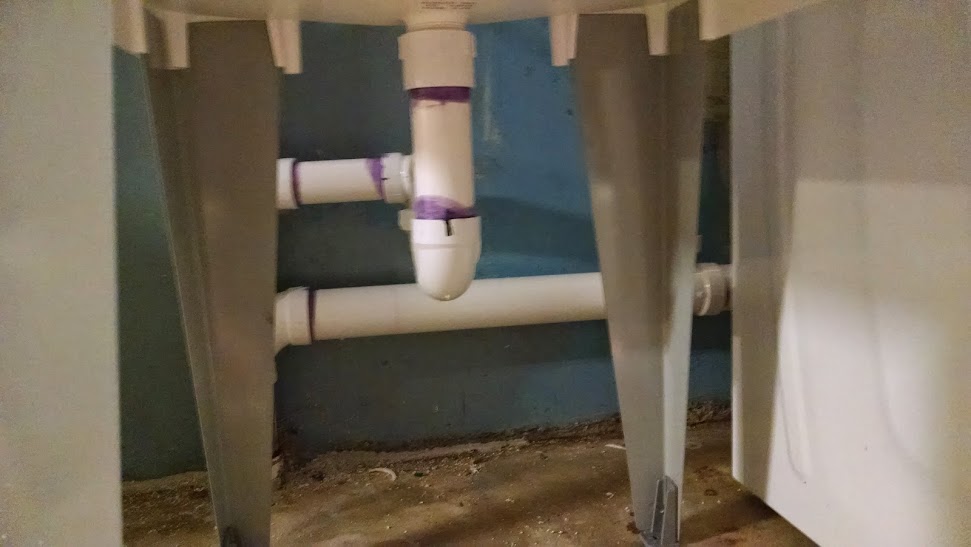
I ended up gluing the stub out and one part of the p-trap, then the sink tub and the other part of the p-trap. Everything fit perfect so I was able to slip the sink and p trap underneath and tighten it down. Phew...did something right.
 |
| (Front View of the laundry sink drain piping) |
 |
| (Side view of the laundry sink drain piping) |
Its like 9:30pm on a Sunday night and I'm thinking to myself, "Awesome I'm done. Jjust need to connect the supply hoses to the shut-off valves...Oh crap! I didn't buy 2 of the same faucet supply hoses like I thought I did. Hardware store is closed, oh well."
 |
| (wrong faucet supply hose) |
I plan on going to get the correct hose tonight*. I did check it with the one hose and worked and no leaks and the tub drains quickly! Mrs. Shegogue Brew also did some laundry this morning and reported back with no issues. I call this a success!
 |
| (full view) |
Now I just need to install my venting solution for the boil and I can make some beer!
* Update - Went back to Home Depot on 4/13 and got the correct hose. No wonder I picked up the wrong one! These hoses were a mess and they only had 1 left and it was interspersed with the wrong one that I returned.
 |
| (Done! Action Shot) |
Cool sites… [...]we came across a cool site that you might enjoy. Take a look if you want[...]…… Mesa Water Damage Repair
ReplyDeleteHowever, one of the most pertinent problems that homeowners encounter with their basements is with regards to water damage. Basements, due to their special location in the home and in most cases underground, are basically surrounded by open ground or soil from all directions. Chicago basement remodeling
ReplyDeleteThis comment has been removed by the author.
ReplyDeleteAll the more as of late, in any case, there are records of laborers with plumbing experience from Eastern Europe filling opportunities on building destinations and an overflow of learners attempting to secure positions.
ReplyDeletetoilet
"I was grateful for the plumber's expertise in fixing my leaking shower valve." drain cleaning
ReplyDeleteHello mate niice blog
ReplyDelete